


It’s not a week without us hearing about a bitcoin exchange or users who have been hacked. So is it possible to keep bitcoins and cryptocurrencies safe? Well yes and it’s not that complicated thanks to the Ledger Nano S.
If you want to become a crypto-investor, it is essential to know how to keep your cryptocurrency.
But before anything else remember that what you need to keep are your private keys. If we compare the use of cryptocurrencies like bitcoin to a credit card, the public key is your credit card number and your private key, your secret code.
The purpose of a crypto wallet is to keep these private keys so that you can spend your cryptos. The whole question is how to keep them safe.
Leaving your cryptos on an exchange or in an online wallet (“hot wallet”) is to entrust the code of your credit card to a provider that you do not know. Maybe you start to understand the risks that you take by leaving your cryptos on the internet.

Ledger Nano S in few words
This is where the Ledger Nano S comes in. This is one of the first crypto portfolios to keep private keys out of the internet. The idea is of course to limit the risks as much as possible.
From this point of view, the Ledger Nano S is surely one of the safest ways to keep your cryptos at the moment.
It must be seen as a safe rather than a wallet. Indeed, the goal of a portfolio like the Ledger Nano S is not to be practical, but to keep your cryptos safe. So, if you want to pay for your coffee in bitcoin, it is better that you download a wallet on your mobile that will be less safe but much easier to use on a daily basis.
The best is to have both and keep most of your crypto in the ledger wallet, much like a checking account and a savings account.
What are the Cryptos covered?
The list is now extremely long and almost all cryptos are covered:https://www.ledger.com/pages/supported-crypto-assets
I still remember the first Ledger Wallet that only covered bitcoin. Now it is possible to keep almost all cryptos. As we will see the memory of the Ledger Nano S is however not illimited, which is sometimes a little frustrating.
The Ledger Nano S is also used to store ERC20 tokens, i.e. tokens that are compatible with the Ethereum protocol. A lot of ICO (“Initial Coin Offering”) use this standard today, so it is very popular to be able to keep the chips purchased at an ICO directly in your Ledger Nano S.
What does your box contain?

You will receive a sealed box. The idea is of course to protect the content and ensure its authenticity. This type of protection, however, has many limitations since the seals could have been peeled off and glued. For maximum security, we advise you to buy Ledger Nano only from the official Ledger store. You can access it by following ce lien.
You will find a small folder with instructions “Getting Started” and a form in which you will be able to note what we call the “seeds of recovery”. These are 24 words that will allow you to access your cryptocurrency if you lose your Ledger Nano. It is therefore essential to keep them in a safe and inaccessible place.
Straps and rings also carry your Ledger Nano around your neck or keychain. The USB cable will allow you to connect your Ledger Nano S to a computer. For connection with an Android smartphone, an OTG adapter is required that you can purchase from the ledger store.
Configuring your Ledger Nano S
It goes without saying that you should never buy an already configured e-wallet. Generally, we do not recommend buying a second hand Nano Ledger S.
Step 1 – Connect to Ledger Live :
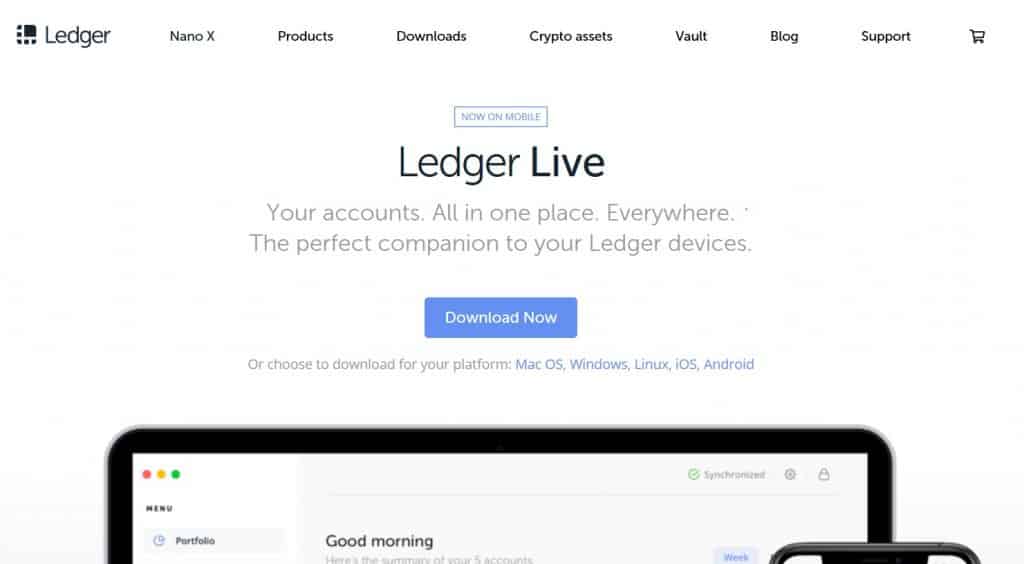
The first step is on your computer. You must first connect toLedger Live. If you have not downloaded it, start by doing it. Make sure you have downloaded the latest version of Ledger Live.
Once you have downloaded it, you will have to choose between several options:
- Initialize a new device
- Restore a Ledger device
- Use a device that has already been configured
- You do not have a Ledger yet
Step 2 – Choosing the type of configuration
For the next steps, we will now switch to the Ledger Nano S. Once connected to your computer, the software opens automatically and you can start via the “Start” button. Just read the instructions on the screen of your device and press the two buttons on the top to start:

We will assume that you have purchased a new device. So you just have to choose the first option “Configure as new device” by clicking on the right button.
Step 3 – Choosing a PIN
You are now asked to choose a PIN that will allow you to secure access to your Ledger Nano S. Note that versions after version 1.3 require a PIN code between 4 and 8 digits. Press the right or left buttons to select the numbers and both buttons at the same time to confirm. Once you have chosen all your numbers, section the icon (✓) and press both buttons at the same time to validate your PIN.

Step 4 – Transcription of passwords
The 24 passwords will now appear and you will be able to note them one after another on the notebook provided in the box. It is essential to note these words without fail and in the order in which they are transmitted to you, otherwise they will be unusable to find your crypto-assets in case of needs.

Once you have written down all your words, the Ledger Nano S will ask you to confirm one. You just have to choose it by navigating with the right or left buttons and validate it by pressing the two buttons.

Once again, it is essential that you are the only one to know these 24 words, since they can give access to your crypto-currencies without your Ledger Nano S.
Once these steps are over, you should see on your computer screen: “Your Device is Now Ready”. Which means, as you probably know, that your wallet is ready for use. It will now be necessary to install the corresponding applications cryptos that you want to add.

Installing applications
You will now be able to install cryptographic applications that you want to use. For that you will click on the “Manager” tab of your Ledger Live.

You will arrive on a page containing all the cryptos supported by your Ledger Nano S. As you can see they are numerous. Simply click on “Install” in front of the crypto that interests you and your Ledger Nano S will be ready to welcome this crypto.

We have to admit that Ledger Live makes it much easier to use your device. It’s a long way from downloading all apps on your computer from Google Chrome and navigating from one to the other.
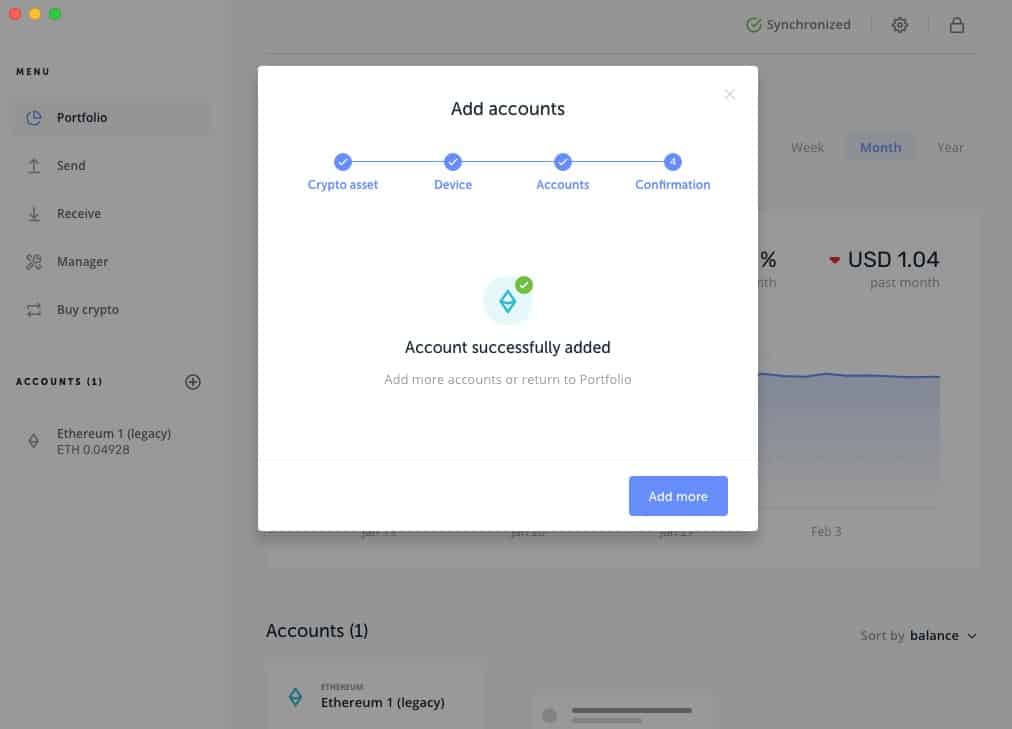
Add an account
Once you have installed the application, you can add an account by clicking on the “plus” next to “Account”.

If you choose a bitcoin account for example, you must choose the bitcoins and name your account.

You must then connect to your Ledger Nano S by dialing your code and then select the Bitcoin icon by clicking both buttons simultaneously.
Limits of the Legder Nano S
For a long time, only about five applications could be installed simultaneously on the Ledger Nano S due to the small amount of disk space. This space depends on the installed applications and their order.
Since March 2018 with the latest version, it is possible to install many other applications. Many cryptos rely on the Bitcoin protocol, so Ledger has taken over this common code base in the Bitcoin application, which has significantly reduced the size of other applications.
Following this principle, it is possible to install up to 18 applications and therefore 18 different cryptos. However, if the applications are installed with a completely different code base (Bitcoin, Ethereum, Ripple, for example), you will not be able to add more than 4 or 5 applications.
In summary, depending on the type of applications installed, a very different result can be obtained. You will normally be able to install up to 10 applications. Note that you can still manage your applications by not installing them all at the same time.
For example, if you do not use your Ledger Nano S often to keep your Ether, the application can be temporarily uninstalled. Alternatively, you can buy a second Ledger Nano, or switch to Ledger Nano Blue which contains twice as many memories. If you start with cryptos, the Ledger Nano S will be more than enough.
To go further
Binance review: all you need to know [2019]
Buy bitcoin without verification: it’s still possible !!


:sharpen(1,0,false):quality(100)/product/80/88398/1.jpg&imgrefurl=https://www.jumia.com.ng/ledger-nano-s-bitcoin-hardware-wallet-8938808.html&docid=N78tfLugMOyQjM&tbnid=3v-46GvM9Q_51M:&vet=12ahUKEwiFwJzLlafgAhWEx4UKHWZsCQg4yAEQMyhHMEd6BAgBEEg..i&w=680&h=680&hl=fr-FR&bih=664&biw=1259&q=ledger%20nano%20s%20pictures&ved=2ahUKEwiFwJzLlafgAhWEx4UKHWZsCQg4yAEQMyhHMEd6BAgBEEg&iact=mrc&uact=8)